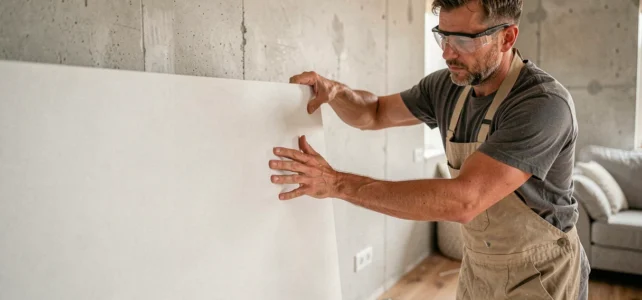
The Vipanel wall panels, manufactured by Roth, are composite coverings designed to dress the walls of bathrooms, showers, and wet rooms without the need for tiling. Their rigid structure, featuring a decorative face and a backing for gluing, allows for installation on existing supports. The success of the installation relies on a few precise technical gestures, often underestimated.
Router and double-sided tape: the equipment that determines the quality of the result
Before touching the first panel, the choice of tools determines the cleanliness of the finishes. The Roth manual distinguishes between two installation methods: with profiles (aluminum angles and joints) or without profiles (edge to edge). The latter, more aesthetic, requires specific equipment.
For an edge-to-edge installation without profiles, a router such as the Festool PF 1200, Mafell MF 26cc, or Makita CA5000XJ is necessary. This tool creates a consistent bevel on the edge of the panel, allowing for a flush assembly. Without an appropriate router, the joint between two panels will be visible and fragile.
The cutting itself requires a plunge saw equipped with a negative rake aluminum blade. A jigsaw with a metal blade completes the setup for internal cuts (plumbing passages, outlets). A comprehensive guide on installing Vipanel panels details each preparation step.
- Double-sided foam tape: main fixation on the wall, ensures support during the polymer glue setting
- Thin double-sided tape: reserved exclusively for the edge-to-edge junction between two panels
- Polymer glue: applied in addition to the double-sided tape, it guarantees permanent adhesion to the support
- Transparent or colored silicone: final waterproofing at junctions and connections with plumbing fixtures
Confusing the two types of double-sided tape is a common mistake. The thin double-sided tape cannot support the weight of an entire panel on a wall. It is only used to align two panels together.
Preparing the wall support before gluing Vipanel
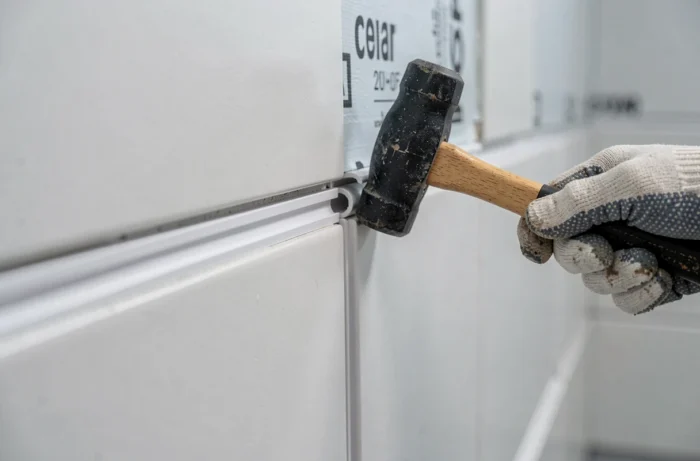
A Vipanel panel does not correct wall defects. If the support has dips or bumps of more than a few millimeters, the panel will not adhere evenly. The polymer glue and double-sided tape work by contact: without regular support, areas of detachment will appear in the medium term.
On a painted wall, light sanding is sufficient to create adhesion. On old tiles, check that each tile is firmly attached to the wall. A tile that sounds hollow when tapped must be removed or reinforced, as the panel glued over it would transmit vibrations and eventually detach.
The protective film located on the back of the panel must be removed before gluing. The glossy versions have a second film on the front face, which should be kept on during handling and removed only after complete installation. Forgetting to remove the back film prevents the glue from adhering.
Special case: renovation installation on existing tiles
In renovation, the existing tiles provide an acceptable support as long as they are clean, degreased, and stable. The recessed joints of the tiles do not affect adhesion if their depth remains shallow. A smoothing compound can be applied to very pronounced joints to even out the surface before gluing.
Installation technique in an angle without Vipanel profile
The installation without a profile in an interior corner represents the most technical gesture of the project. The Roth manual states that this method is not suitable for glossy Vipanel finishes, as the surface does not tolerate milling without visible chipping.
The principle involves milling the edge of each panel at a precise angle so that they fit into the corner of the wall. The two panels are then assembled with thin double-sided tape on the edge, and then reinforced with polymer glue. The result is a clean angle, without visible metal joints.
For exterior corners (return of shower walls, niches), an exterior corner profile is still recommended even in “profile-less” installation. The mechanical stress on a protruding corner is greater: a shock or regular pressure would eventually open a purely glued assembly.
Installation order and management of large formats
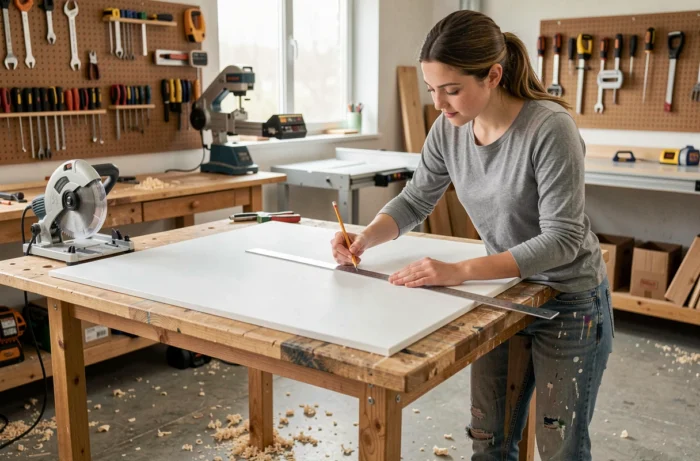
Wide format panels (especially those over one meter in width) should be handled by two people, using transport suction cups. Positioning starts from the most visible corner of the room, then progresses towards the least exposed area. The last cut, often imperfect, is thus placed in a discreet location.
Finishes and profiles: knowing when to use them
There are four aluminum profile references in the Vipanel range: interior angle, exterior angle, joint, and finish. The finish profile is used to neatly cover the free edge of a panel (for example, where the covering stops in the middle of a wall).
A fine round file allows for adjusting the contact between the profile and the panel. Without this tool, a slight gap remains at the junction, allowing moisture to pass behind the panel. Transparent silicone seals this junction as a last resort, but a well-fitted profile reduces reliance on silicone.
Marking tape, mentioned in the list of Roth consumables, protects the surface of the panel during cuts and adjustments. It prevents micro-scratches caused by the friction of the guiding rule or the saw base.
Heating Vipanel panels: additional installation constraints
Roth now offers a heating version called E-Vipanel, equipped with an integrated cable and electrical connection via a specific kit. This panel combines decorative function with additional wall heat.
The installation of an E-Vipanel imposes constraints absent on classic versions: precise marking of drilling areas to avoid the heating circuit, routing of the cable (approximately 80 cm) to the connection point, and intervention by a qualified electrician for network connection. In bathrooms, safety distances from water points must be respected according to current electrical standards.
The choice between a classic Vipanel and an E-Vipanel is therefore made very early in the project, as electrical supply must be planned before the support installation.